Part 1 - Getting started
Introduction
This article is the first of a guide to help the reader deploy a machine learning application from its local environment to the cloud. This guide comprises articles focusing on the MLOps topic and not the machine learning itself. Article by article, the application will improve its scalability and resilience, starting with nerds’ needs and finishing with the enterprise’s requirements.
Even if these articles have a step-by-step approach, some Python, GitHub and Azure knowledge might be necessary. The articles provide official documentation, letting the reader handle some straightforward steps autonomously. Moreover, basic Python knowledge as packaging, condition or function as well as navigating in the GitHub interface, the Git part of GitHub are considered known as well as essential components of Azure components as Resource Group.
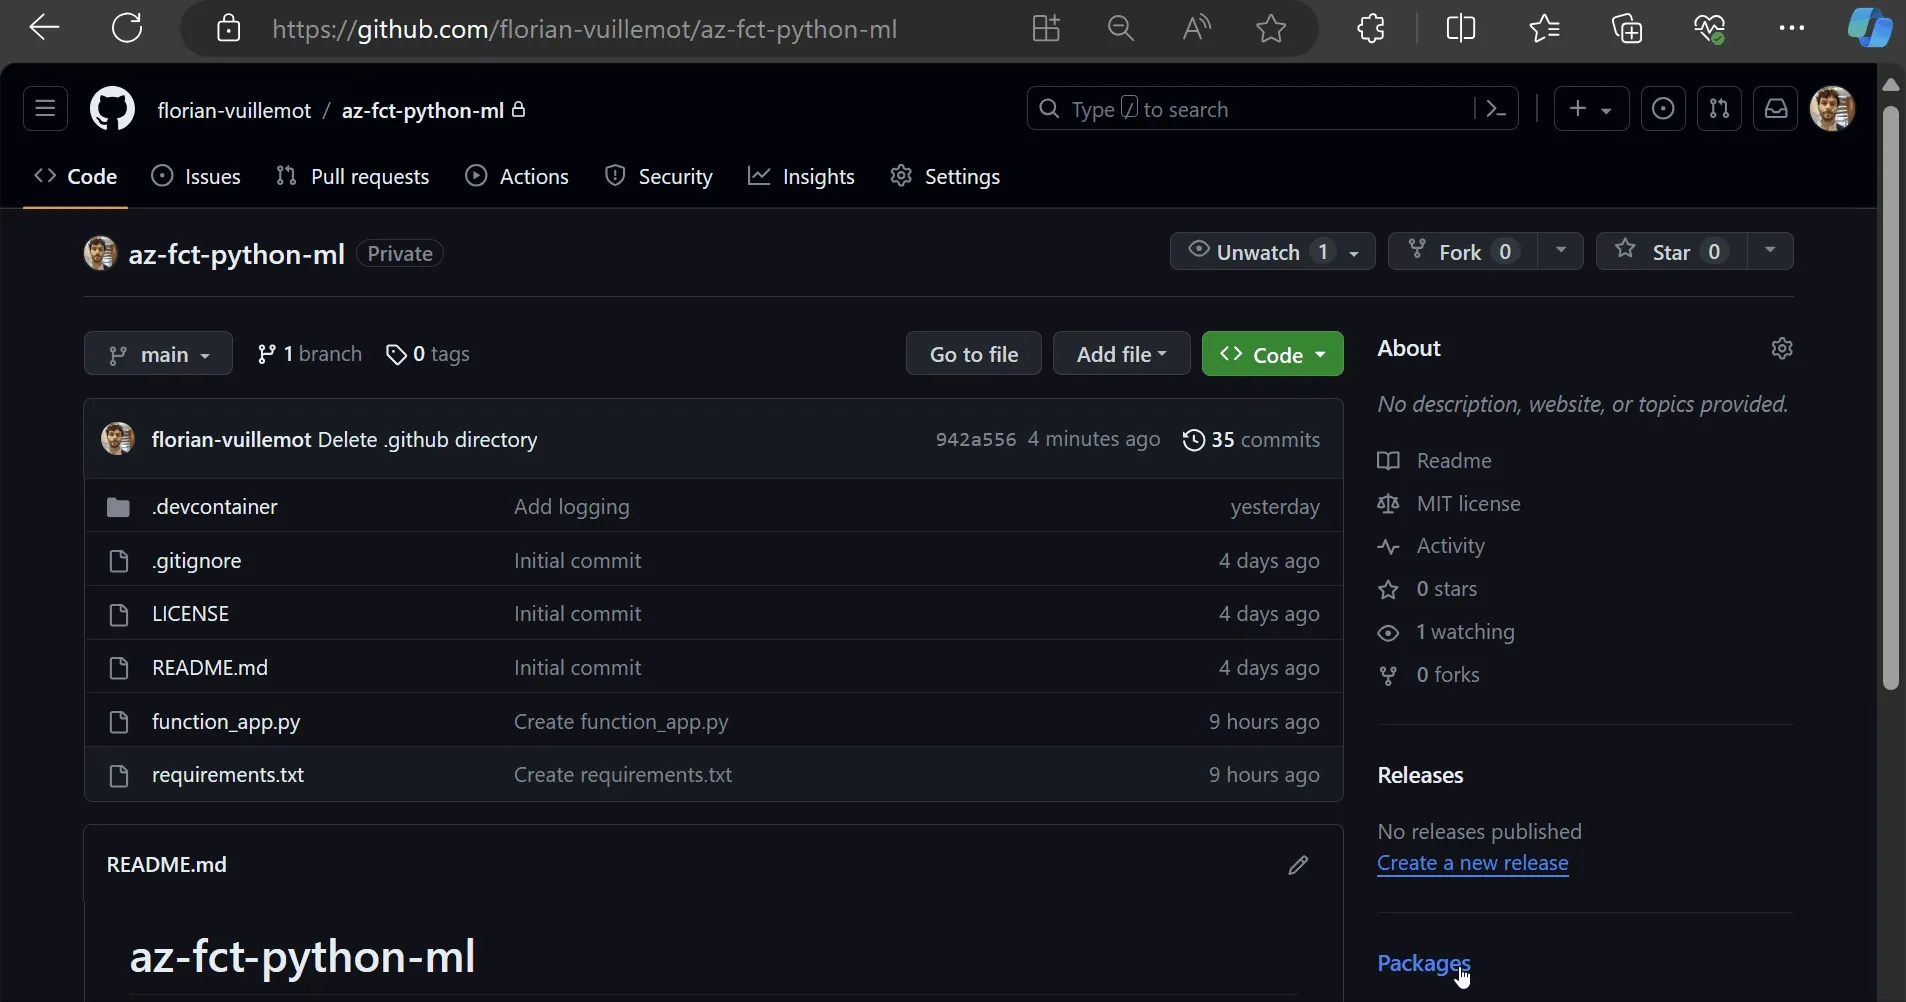
Here is the code for this article.
Feel free to create an issue to comment on or help us improve here.
The application
The basic example
In this example, we will use an example from the scikit-learn documentation.
Here is the local application that we want to expose as an API:
from sklearn.ensemble import RandomForestClassifier
# Define the model.clf = RandomForestClassifier(random_state=0)
# Define the training dataset.X = [[ 1,  2,  3],    [11, 12, 13]]y = [0, 1]
# Train the model on the dataset.clf.fit(X, y)
# Run the prediction.prediction = clf.predict([[4, 5, 6], [14, 15, 16]])
# Print the predicted result.print(prediction)
From a local application to an API
This application can not handle HTTP requests yet. We will follow the Azure Function framework to transform the code in an API. This framework may seem complex initially, but it looks like Flask and is simple to use.
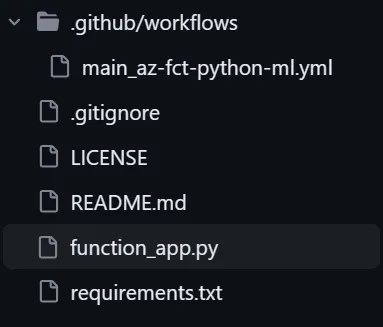
First, we will put the application code in a file named function_app.py. This file name is the default entry point used by Azure Function. If you want to use another name, you must configure the Azure Function, which is outside this article’s scope.
Then, we will add the Azure Function framework layer to handle HTTP Request and return HTTP Response.
import json
import azure.functions as funcfrom sklearn.ensemble import RandomForestClassifier
# Create the Azure Function App.# The ANONYMOUS level indicates no authentification is needed to access this API.app = func.FunctionApp(http_auth_level=func.AuthLevel.ANONYMOUS)

# Defining the API endpoint.@app.route(route="predict")def predict(req: func.HttpRequest):    # Retrieve the data to be predicted.    # For education purposes, there is no input validation.    to_predict = req.get_json()
    # Define the model.    clf = RandomForestClassifier(random_state=0)
    # Define the training dataset.    X = [[ 1,  2,  3], [11, 12, 13]]    y = [0, 1]
    # Train the model on the dataset.    clf.fit(X, y)
    # Run the prediction.    prediction = clf.predict(to_predict)
    # Convert the prediction for HTTP output.    res = json.dumps(prediction.tolist())
    # Return the HTTP result.    return func.HttpResponse(res, status_code=200)
Now, we must indicate the application dependencies in a requirements.txt file.
scikit-learnazure-functionsBoth files, function_app.py and requirements.txt, must be at the root of your repository and pushed on GitHub to be consumed by the Azure Function.
To better understand the Azure Function framework.
Run locally an Azure Function
Now, the application is ready to be used in the cloud. However, running the application on the local machine is more complex than it was. Because now, the code is a mix between the Azure Function framework and the application code, it is not possible to test the application code without running the Azure Function emulator. Even if running this emulator is straightforward, the reader is encouraged to separate the Azure Function code and the business application to improve the feedback loop.
Create and configure the infrastructure
We will use Azure Function service to expose our application on the Internet. Whilst configuring the Azure Function, we will also configure the connection with GitHub. Based on this connection, we can create a GitHub workflow to deploy the application automatically when a commit is pushed to the repository.
The workflow:
What is an Azure Function
Azure Function is an event-driven serverless computing service that allows the execution of small applications - named “functions” - without managing the underlying infrastructure. This service automatically scales based on the demand, and you pay only for the resources consumed during execution, making it a cost-effective solution for various application scenarios.
You can find more documentation about Azure Function here.
What is GitHub Action
GitHub Actions is an automation and CI/CD service provided by GitHub. It allows the definition of workflows triggered by action on the GitHub repository. In our case, a trigger on the action “push on main” will run a workflow created during the configuration to deploy the code on the Azure Function.
You can find more documentation about GitHub Action here.
Step by step
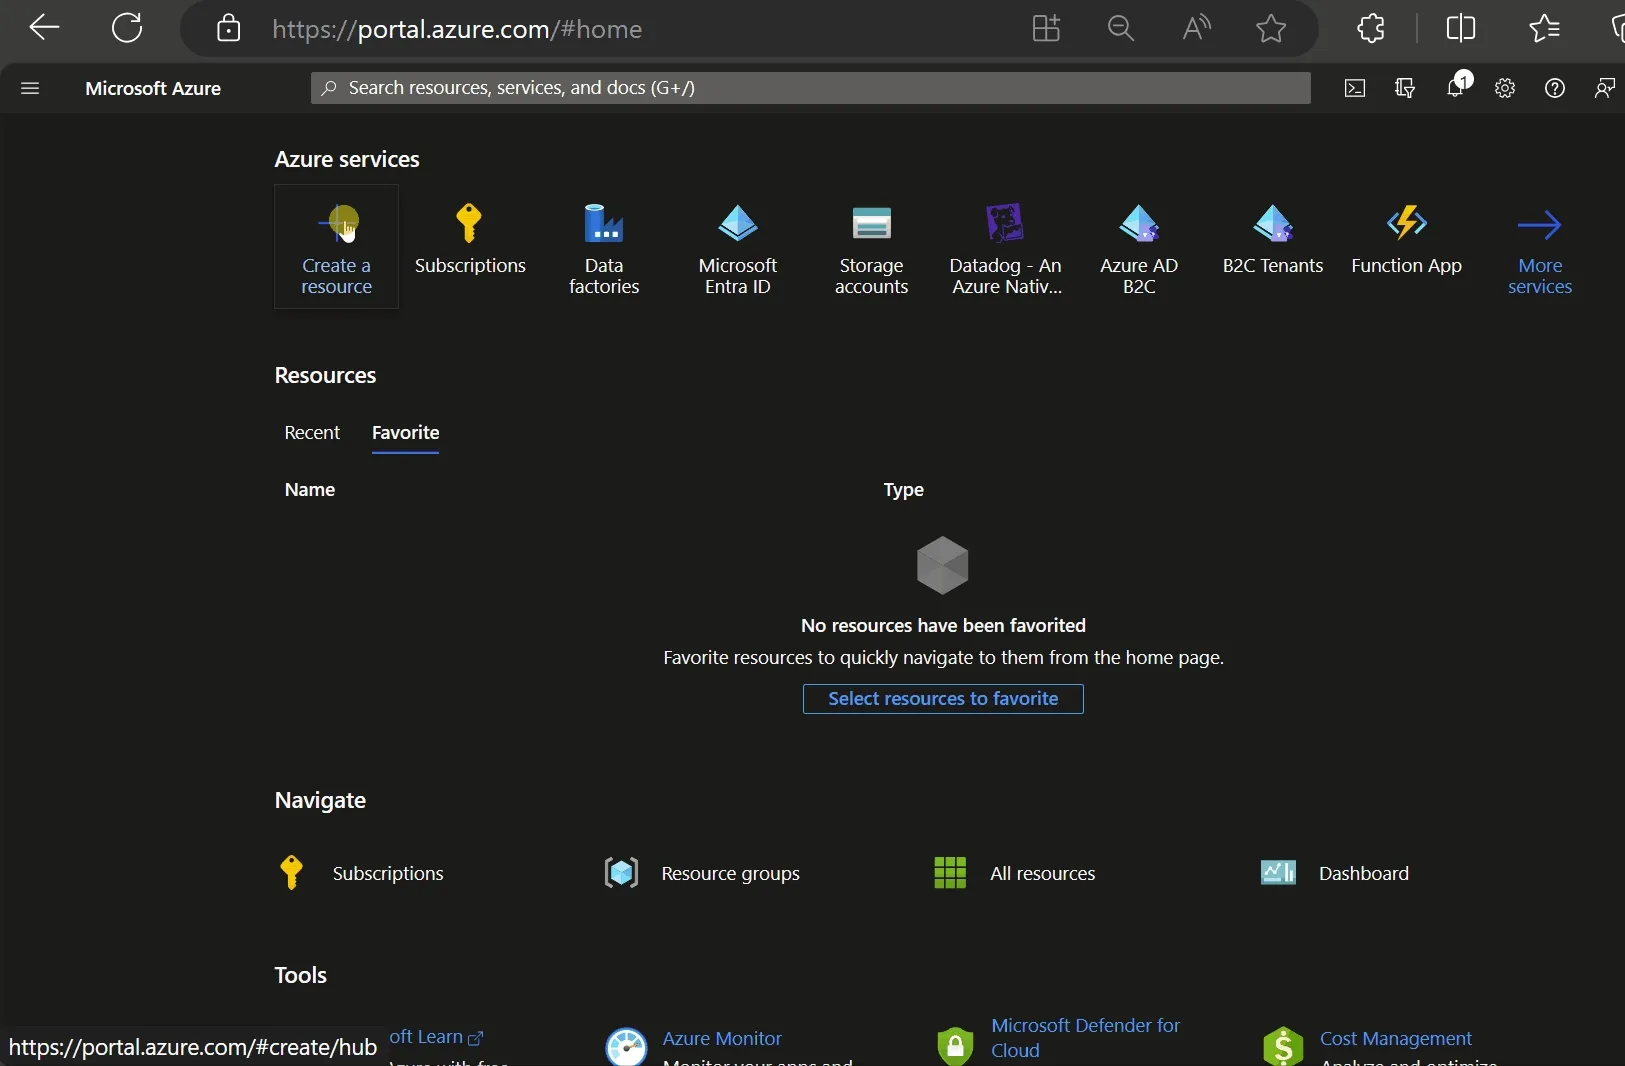
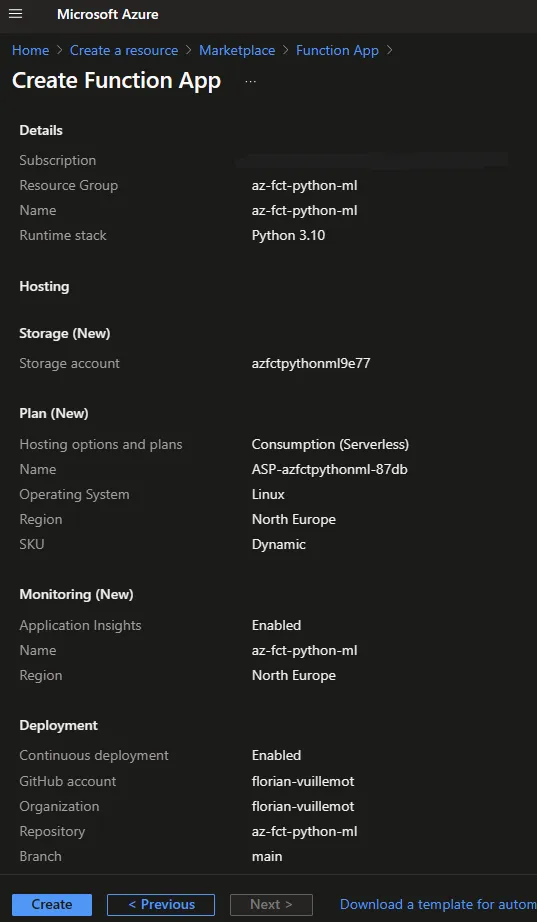
- Go to the Azure Portal.
- Search the “Function App” service, then click “create”. Here is a step-by-step guide.
- The Azure Function name will be the subdomain of the API endpoint.
- Specify the information without forgetting to update the runtime stack to
Python.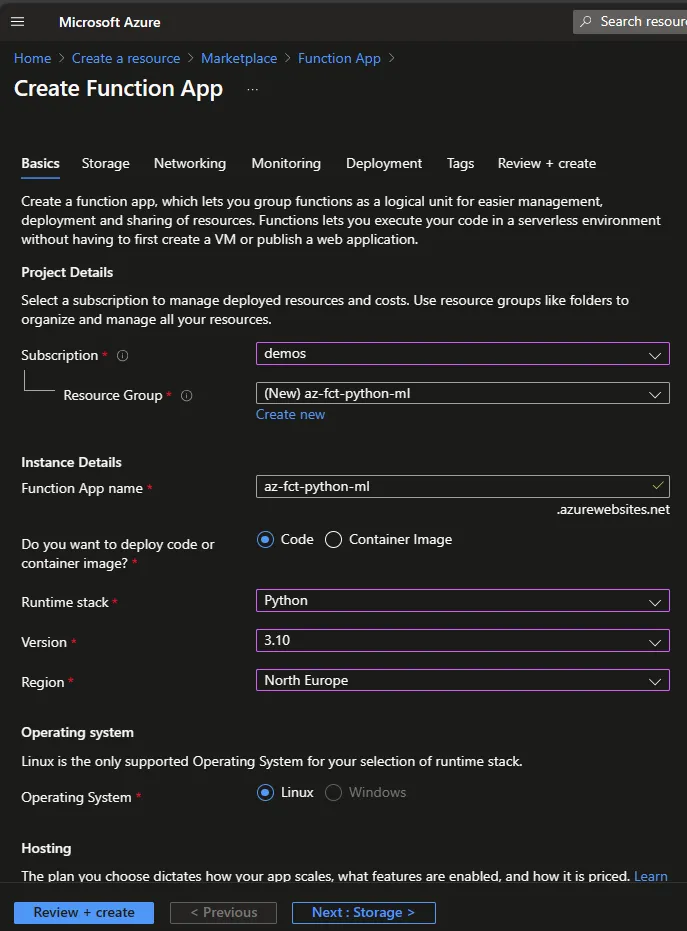
- Click on “Next” until you are on the Deployment panel.
- In this panel, you can authorize Azure to access a GitHub repository. In this case, I selected the repository containing the example application.
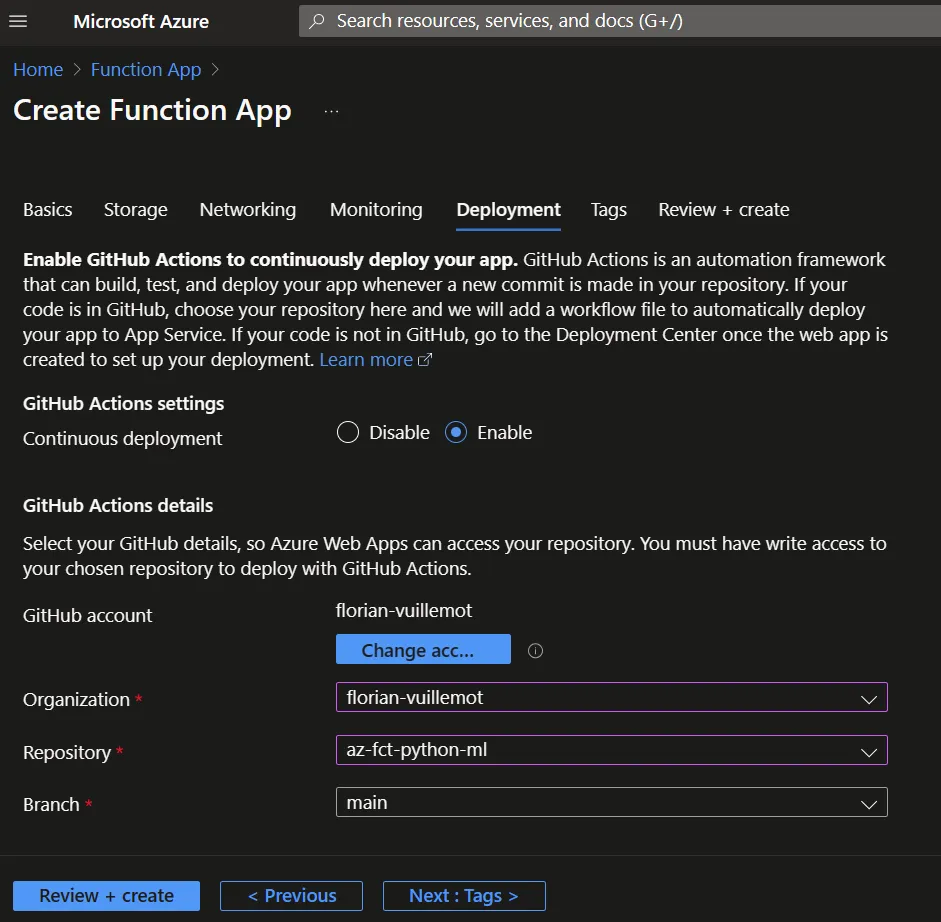
- The configuration is done, the Azure Function can now be created.
After creating the Azure Function, Azure pushes the workflow file main_az-fct-python-ml.yml on the repository under folder .github/workflows. This file contains the workflow that GitHub will perform on each push on the branch main.
The next article will deep dive into this file.
The application is now accessible via an HTTP Request.
curl -H "Accept: application/json" -H "Content-Type: application/json" -X POST -d '[[4, 5, 6], [14, 15, 16]]' https://<fct-name>.azurewebsites.net/api/predict[ 0, 1]As all serverless platform, Azure Function can take time to process a request due to the cold start.
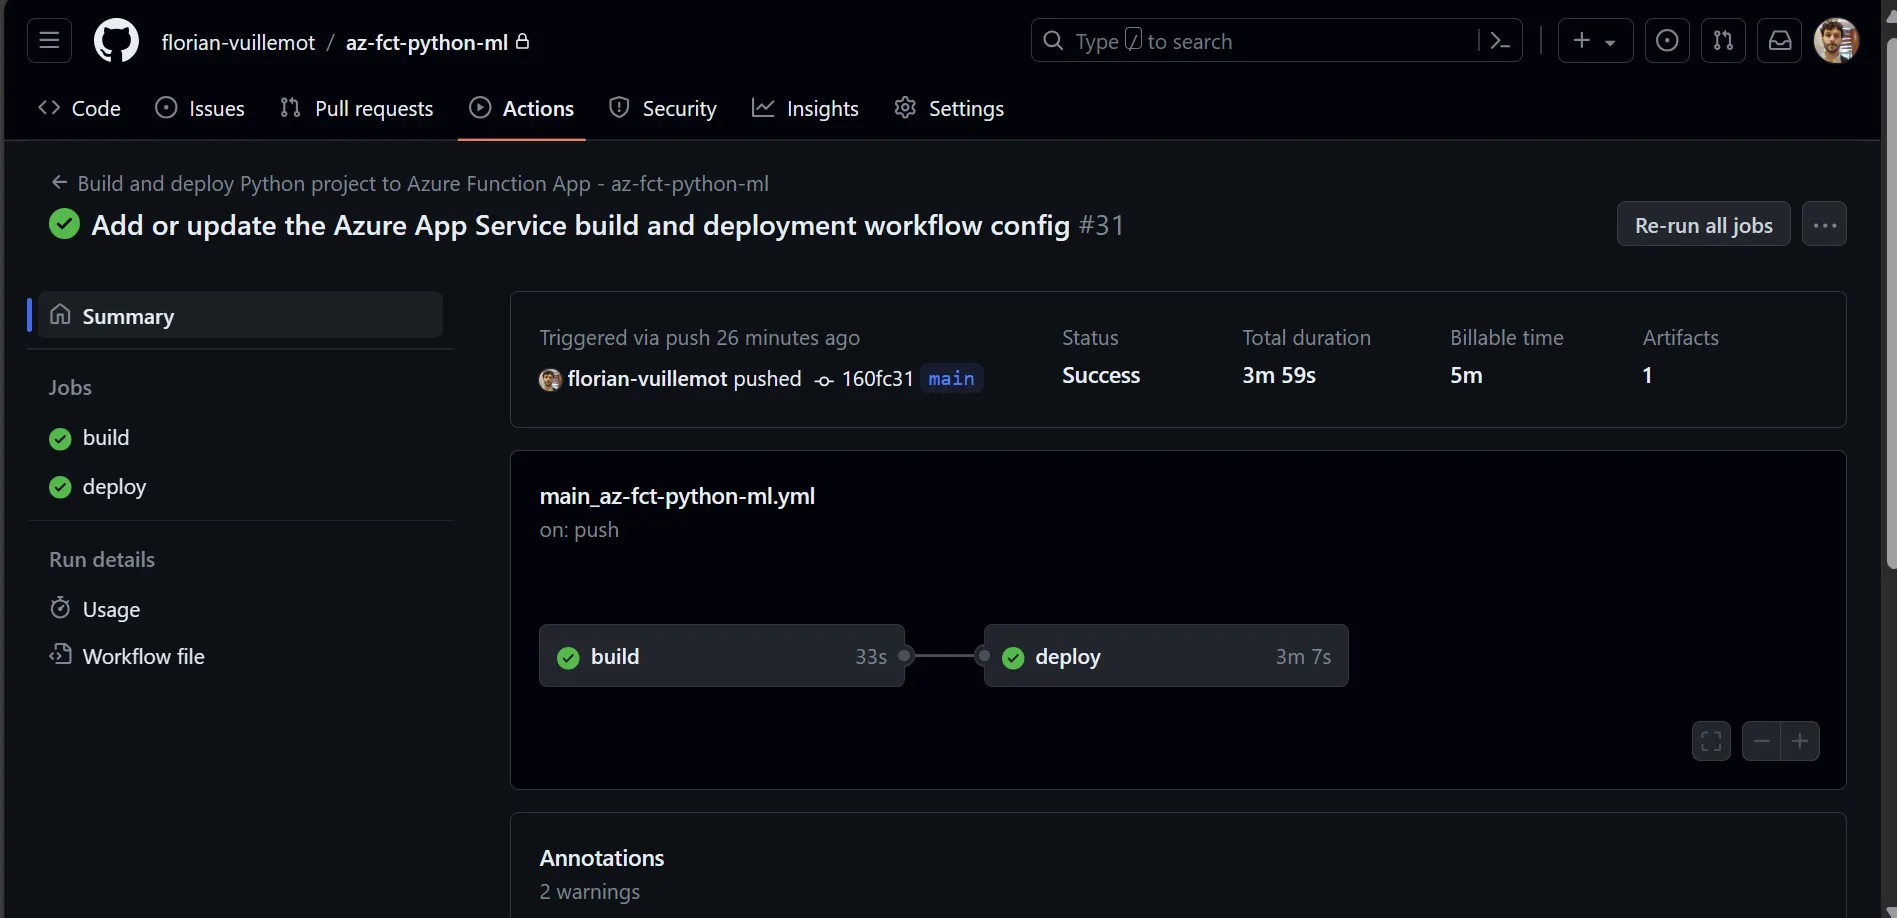
The GitHub Action panel
The GitHub Action panel contains the history of workflow runs. Currently, it only includes one run with the first deployment. Feel free to update the application to trigger a new deployment.

This workflow contains steps defined in the workflow configuration.
Summary and next step
This article gives the reader the basic knowledge to deploy a basic machine learning application. However, this simple example does not allow the deployment of a real machine learning model! And that will be the focus of the next article.
Any comments, feedback or problems? Please create an issue here.